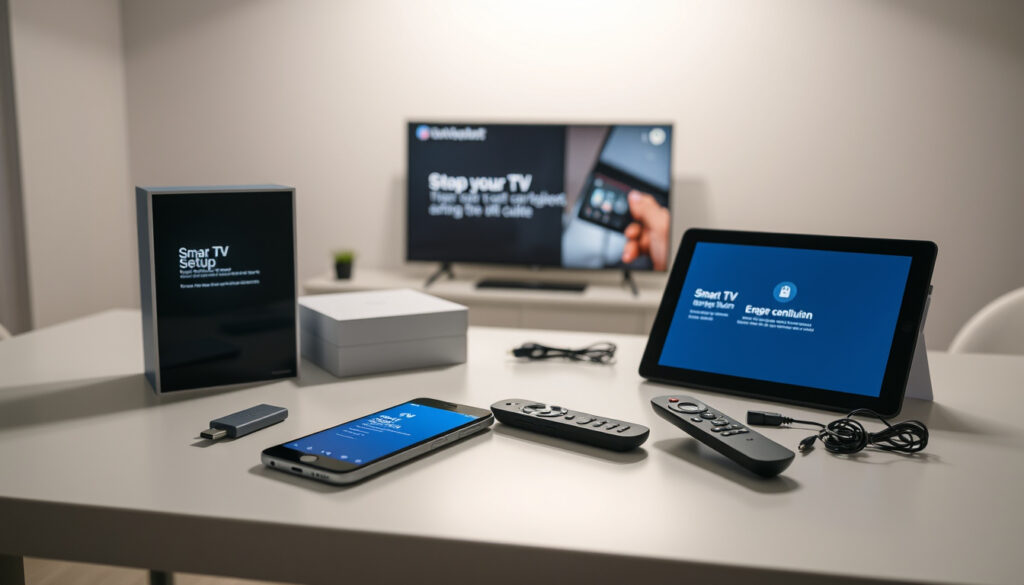
How to Set Up My Device: Android, TV, Tablet Guide
Unboxing a new Android device feels exciting—until you stare at that first setup screen wondering where to start. Whether you’re migrating from an older phone, setting up a fresh tablet, or getting a Google TV ready for streaming, the process follows a similar pattern across devices. This guide walks through official Google steps for wireless data transfer, account sign-in, and voice setup, so you spend less time figuring out prompts and more time actually using your new device.
Primary platform: Android ·
Key setup step: Sign in with Google Account ·
Data transfer option: From old device or cable-free ·
Voice command: Hey Google ·
Supported devices: Phone, TV, tablet
Quick snapshot
- Google Account sign-in required for full setup (Google Support)
- Wi-Fi connection mandatory before data copy appears (Android.com)
- Exact code generation process varies by model (YouTube Tutorial)
- Regional carrier restrictions not fully documented (Google Support)
- Setup progresses: Power on → Wi-Fi → Sign-in → Copy data → Biometrics (Google Support)
- Transfer can take minutes to over an hour depending on data volume (Android.com)
- Hey Google activation available after data transfer completes (YouTube Tutorial)
- Apps reinstall individually and may require re-login (YouTube Tutorial)
The key facts table below outlines the essential setup milestones you will encounter during any Android device initialization.
| Label | Value |
|---|---|
| Initial action | Turn on device and tap Start |
| Account needed | Google Account sign-in |
| Transfer method | Cable or wireless from old phone |
| Voice setup | Hey Google command |
The setup sequence stays consistent across device types, though TV and tablet flows adapt the interface for their respective input methods.
- Power on and tap Start
- Connect to Wi-Fi
- Sign in with Google Account
- Transfer data from old device
- Complete post-transfer setup
How do I set up my Android device?
Setting up a new Android phone follows a consistent sequence whether you have a Pixel, Samsung, Motorola, or another brand. According to Android’s official setup guide, the wizard guides you through each step with on-screen instructions.
Power on and tap Start
Press and hold the power button to turn on your new device. Once the screen lights up, tap Start to begin the setup process. If the device was previously used, a factory reset through Settings → General Management → Reset may be necessary first.
Connect to Wi-Fi
Select your Wi-Fi network from the list and enter the password. A stable connection is mandatory—the setup wizard won’t proceed to data copy options without Wi-Fi active, as noted in Google’s switch-to-Android instructions.
Sign in with Google Account
Enter your Google Account credentials. This account links your apps, contacts, photos, and settings across devices. Without sign-in, you can still use the phone locally, but cloud sync and the full Google experience won’t be available.
Google Account sign-in is non-negotiable for anyone who wants their apps, contacts, and photos to follow them to the new device. If you forgot your password, recover it at accounts.google.com before starting setup.
How to set up my device TV?
Google TV and Android TV devices follow a similar flow but orient around the remote control rather than a touchscreen. Setup differs primarily in the input method and screen navigation.
Insert cables and power on
Connect the power cable and, if applicable, an HDMI cable linking the device to your television. Press the power button on the remote to wake the TV and device.
Follow on-screen prompts
The setup wizard displays on your television screen. Navigate using the directional pad on the remote. Select your language, agree to terms, and proceed through each screen.
Link Google Account
Sign in to your Google Account when prompted. This links your streaming subscriptions, viewing preferences, and any purchased content to the device. The Google Support documentation notes that account linking happens early in the TV setup sequence.
Your Google Account on a TV device doesn’t just affect app access—it determines which content recommendations appear, which shows resume where you left off, and whether family members share the same viewing profile. Skipping sign-in means starting from scratch each time.
TV setup leverages the same Google Account infrastructure as phone setup, but the remote-first navigation requires adjusting how you interact with prompts and menus.
How do I set up my device from old?
Moving data from an old Android device to your new one is the most significant step for most users. Google provides both wireless and cable-based options, with wireless transfer being the preferred method for Android-to-Android migrations.
Use cable or wireless transfer
When the new device asks about data copying, select Copy apps & data or Setting up using another device. The official Android data transfer guide confirms that wireless transfer uses QR code scanning and PIN verification without requiring any physical connection.
Select copy apps and data
Choose which data types to transfer: apps, photos, contacts, messages (SMS/MMS/RCS), and settings. Cloud-synced items like contacts and calendar events transfer automatically once you sign in, while local data requires the wireless or cable transfer step.
Verify old device nearby
For wireless transfer, both devices must be charged, connected to the same Wi-Fi network, and the old device must remain unlocked. Video walkthroughs on YouTube demonstrate the QR code scanning process: the new device displays a QR code, which you scan using the old device’s camera app.
How to set up my device tablet?
Android tablets follow nearly identical setup steps to phones, with the main differences being screen size and the optional SIM card for cellular-enabled models.
Boot up tablet
Press and hold the power button. Tap Start when prompted. Select your language and region from the dropdown menu.
Wi-Fi connection
Choose your Wi-Fi network and enter the password. Tablets typically connect to the same networks as phones, and the connection must be stable before proceeding.
Account sign-in
Sign in to your Google Account. For tablets with cellular capability, SIM activation may occur before or after sign-in depending on your carrier. Data transfer options appear after Wi-Fi and account setup completes.
Tablets often have more storage than phones, so users frequently transfer everything rather than selectively. The catch: apps that were paid on your old device need to be re-downloaded (but not repurchased) once you sign in on the new tablet.
What is set up my device code?
The setup code—sometimes presented as a QR code or numeric PIN—is Google’s method for securely linking your old and new devices during wireless transfer. This verification step confirms you’re transferring data between your own devices, not someone else’s.
Enter verification code
The new device displays either a QR code to scan with the old device’s camera or a numeric PIN to enter manually. According to Google’s official transfer documentation, you paste the generated URL into Google Search on the old device, then enter the old device’s PIN on the new device for verification.
Troubleshoot code issues
If the QR code won’t scan, verify that both cameras are clean and the old device is running the latest Android version. If the PIN doesn’t match, restart the transfer process from the new device’s setup wizard. Some users report that carrier-specific builds handle verification differently than stock Android.
Hey Google integration
After data transfer completes, the setup wizard prompts you to enable voice features. Say “Hey Google” when asked, or skip this step and enable it later through Settings → Google → Settings for Google apps → Assistant. Video demonstrations show Gemini activation available post-transfer through the Google services setup screen.
App data may not fully transfer—apps reinstall but often require you to sign in again individually. Banking apps, password managers, and streaming services are the most common culprits. Check each app’s settings after setup to confirm your data is complete.
The verification codes and QR scanning add friction, but this security layer prevents unauthorized transfers to the wrong device—worth the extra prompts.
Upsides
- Google Account required for setup ensures seamless app and contact sync
- Wi-Fi connection mandatory prevents incomplete transfers
- Wireless transfer works across Samsung, Pixel, Motorola, and Xiaomi devices
- Data types transferred include apps, contacts, photos, and messages (SMS/MMS/RCS)
Downsides
- App data may not fully transfer; apps reinstall and require re-login
- Exact code generation process reportedly varies by model
- Transfer time varies from minutes to over an hour based on data volume and connection speed
- Samsung devices prompt Smart Switch installation, adding an extra step
“On your old device, open the Google app. Search set up my device.”
— Google Support (Official Documentation)
“Your new Android phone will give you instructions right on the screen.”
— Android.com (Official Site)
“We recommend that you sign in to your Google Account.”
— Google’s Switch to Android guide
For new Android users, the setup process is designed to be straightforward, but the actual transfer experience depends heavily on whether both devices are fully charged, connected to stable Wi-Fi, and unlocked throughout the process. The verification codes and QR scanning add a layer of friction that, while intended to protect your data, can trip up users who aren’t expecting multiple prompts. The real takeaway: don’t assume everything transfers perfectly just because the wizard says “copying’s done.”
Related reading: iPhone 16 vs 16 Pro – Detailed Specs Comparison · Baldurs Gate 3 Mods – Installation Guide and Best Picks
youtube.com, android.com, youtube.com, youtube.com, android.com
For smart speakers or displays during Android or TV setup, the OK Google set up my device guide streamlines voice-activated pairing and configuration effortlessly.
Frequently asked questions
How do I start the setup process?
Press and hold the power button on your new device. Tap Start when the screen prompts you. Select your language, connect to Wi-Fi, and sign in with your Google Account to begin the full setup wizard.
Do I need my old phone nearby?
Yes, for wireless data transfer your old device must be nearby, charged, unlocked, and connected to the same Wi-Fi network as the new device. Without the old device, you can still set up the new phone but will need to reinstall apps and re-add contacts manually.
What if I forgot my Google Account?
Visit accounts.google.com/signin/recovery to recover your account using your phone number or recovery email. Complete the recovery before starting device setup to avoid delays.
Can I set up without internet?
No. The setup wizard requires Wi-Fi to proceed past the initial language and accessibility prompts. You cannot complete account sign-in, data transfer, or app downloads without an active internet connection.
How to fix setup code errors?
Restart the transfer process from the new device’s setup wizard. Ensure the old device is running the latest Android version and that both cameras are unobstructed. If problems persist, use the “No cable” option and manually enter the setup URL instead of scanning.
Is SIM required for setup?
No for Wi-Fi-only tablets and devices. Yes for phones with cellular capability—the SIM activates before or during account sign-in depending on your carrier. Tablets typically don’t require a SIM for Wi-Fi setup.
How long does data transfer take?
Transfer time varies from minutes to over an hour depending on data volume and connection speed. Larger libraries with hundreds of apps, thousands of photos, and extensive message histories take longer. Wi-Fi 6 connections transfer faster than older Wi-Fi standards.
More related posts
 Liam Howlett: Biography, Net Worth, and Marriage Facts
 Check Domain: How to Verify Ownership, Availability & Security
 How Old Is Cliff Richard – Age, Family, Health 2025
 Antonio Banderas: Illness, Partner, Divorce & Net Worth Update
 Norman Foster: Biography, Buildings and Net Worth Guide
 Edward VII: Playboy Prince Turned Reformist King
 Chrissy Teigen: Biography, Children, and Sobriety Journey
 Are Shops Open Easter Sunday – UK Laws Supermarket Hours